If you’ve ever watched a flat illustration suddenly blink, wave, or walk across a screen, you’ve watched rigging do its job. Learning how to rig a 2d character is the real dividing line between “I can draw a character” and “I can make that character perform.” It looks intimidating from the outside — bones, joints, pivot points, weight maps, a dozen menus you’ve never touched — but break it into steps and it turns into something pretty repeatable. Not easy, exactly. Repeatable.
This guide walks through the whole workflow the way I’d explain it to a friend who just opened their animation software for the first time and has no idea where to start. No jargon dumps, no filler. By the end you’ll know what rigging actually is, what you need to get moving, and how to build a working rig without fighting your own artwork the entire time.
What Does It Mean to Rig a 2D Character?
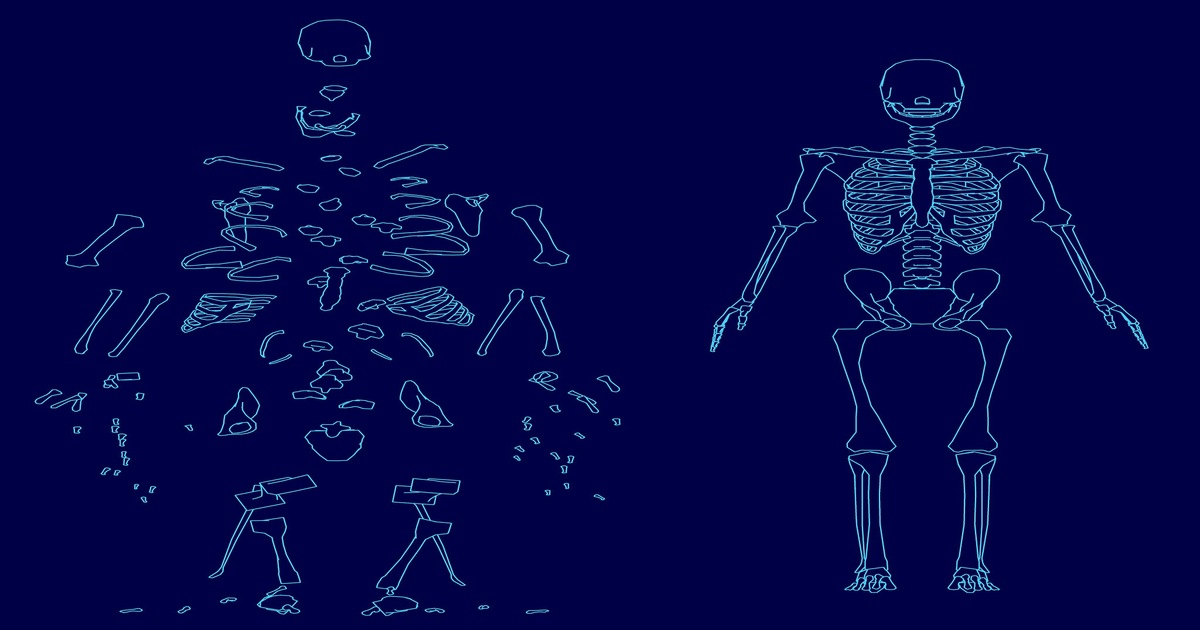
Rigging is building a digital skeleton underneath a flat illustration so the artwork can move without being redrawn every single frame. You attach bones to body parts — arms, legs, head, torso — and those bones let an animator bend, rotate, and pose the character almost like a puppet on strings.
Skin, skeleton, puppeteer. That’s the whole metaphor. The illustration is the skin, the rig is the skeleton hiding underneath it, and whoever animates the character afterward is the one pulling the strings. Once it’s built right, you can reuse that same character file for dozens of scenes and poses without ever opening the original artwork again.
Compare that to frame-by-frame animation, where every pose gets hand-drawn from scratch. It’s slower, it’s more work, and honestly most studios only use it when they specifically want that hand-drawn feel. For everything else — explainer videos, mobile games, social content, YouTube characters — rigging is what makes the workload manageable.
Why Most Beginners Get Stuck
Anyone searching for a 2d character rigging tutorial tends to run into the same wall early on: they open the software and start placing bones before their artwork is actually ready for it. Here’s the part nobody tells you upfront — rigging has almost nothing to do with which button you click in After Effects or Moho. It’s about how the character was drawn and separated before it ever touched a rig.
Messy layers, body parts overlapping in the wrong order, joints with no hidden artwork underneath them — any one of those will make a rig look broken no matter how carefully you place the bones afterward. So the real work, the part that actually determines whether this goes smoothly, happens before you touch a bone tool at all.
Step 1: Prep Your Artwork Properly
A clean rig starts with a clean file. That means:
- Every moving part gets its own layer. Head, torso, upper arm, lower arm, hand, upper leg, lower leg, foot — each one cut cleanly from the rest of the body, no exceptions.
- Draw hidden overlap at every joint. Shoulder, elbow, knee, hip — extend the artwork a little behind the connecting piece so you don’t see gaps of empty space the second the limb bends.
- Keep proportions consistent. Mismatched limb lengths will still technically rig fine, but the movement ends up looking off in a way that’s hard to pin down.
- Name your layers something you’ll actually recognize later. “Arm_L_Upper” beats “Layer 14” every time you come back to this file after a week away from it.
This is where most beginner rigs go sideways, and it’s also the fastest place to save yourself hours of troubleshooting down the line. I’d argue it matters more than the rigging step itself.
Step 2: Get Comfortable With How Skeletal Animation Works
Skeletal animation for beginners really comes down to one idea: bones control movement, artwork just follows along. Every bone has a start point and an end point, and bones link together in a hierarchy — a chain where each bone is a “parent” or “child” of another.
Take an arm as an example. The shoulder bone is the parent. The upper arm is its child. The forearm is a child of the upper arm. The hand is a child of the forearm. Rotate the shoulder, and everything downstream — upper arm, forearm, hand — moves with it automatically, the same way a real arm works.
That hierarchy is the whole point of rigging. Move one bone near the top of the chain and the rest of the limb just follows.
Step 3: FK or IK? Pick One (Then Learn the Other)
This trips up almost everyone at first, so here’s the short version.
Forward Kinematics — FK — means rotating each bone individually, starting from the top of the chain and working down. You get precise, deliberate control, which is great for expressive poses, but it takes more manual adjustment per frame.
Inverse Kinematics — IK — flips that. You move the end of a chain, like a hand or a foot, and the rest of the bones bend to follow it automatically. Way faster for things like walk cycles, where a foot has to stay planted on the ground while the leg bends around it.
Most working rigs mix both: IK for legs and feet, FK for arms and spine. If this is your first time figuring out how to rig a character in 2d, start with FK. It’s simpler to wrap your head around, and you can bolt on IK controls once the basics actually make sense to you.
Step 4: Build the Bone Structure
Now you place bones over your prepped artwork. Most 2D animation software — After Effects with a rigging plugin, Adobe Character Animator, Moho, Spine, Toon Boom Harmony — follows a similar logic under the hood:
- Import the layered file.
- Drop a root bone at the character’s center of mass, usually somewhere around the hips.
- Build outward from there — spine up to the head, then down through each arm and leg.
- Place bones at natural pivot points (the actual shoulder joint, the actual elbow, the actual knee) so the movement reads as anatomically correct.
- Name every bone to match its layer. Tedious, yes, but it saves you real time the moment something needs fixing.
Step 5: Skin It, Weight It
Skinning is telling each piece of artwork which bone controls it, and how much say that bone gets. This part is usually called weight painting, and it’s where a lot of rigs quietly fall apart.
Get the weights wrong and you’ll see the classic symptoms — stretched artwork at the joints, limbs that “candy wrap” when bent, pieces that just don’t move when they should. Get it right and the bend looks smooth, almost boring in the best way.
A decent rule for beginners: give each piece of artwork 100% weight to its own single bone first. Only start blending weight between two bones — for smoother joint bending — once the basic rig actually works.
Step 6: Add Controls
Raw bones work, but they’re clunky to animate directly. Controls are simplified handles — circles, arrows, sliders — sitting on top of the rig that make posing faster and a lot more intuitive. A well-built control setup lets an animator move a whole arm with one handle instead of adjusting three separate bones, flip between FK and IK with a single click, or trigger a facial expression without manually hiding and showing layers.
This step is the difference between a rig that “technically works” and one people actually enjoy animating with.
Step 7: Test Before You Animate Anything
Before jumping into a full animation, put the rig through its paces:
- Rotate every joint through its full range of motion, not just a gentle wiggle.
- Look for gaps, stretching, or artwork poking out from behind other layers.
- Test extreme poses. A rig that only looks good standing neutrally isn’t actually finished.
- If you can, get a second pair of eyes on it — rigging mistakes are surprisingly easy to miss when you’ve stared at the same file for three hours straight.
Catching problems now costs you minutes. Catching them after you’ve animated fifty frames on a broken rig costs you your evening.
Mistakes That Show Up in Almost Every Beginner Rig
Skipping the joint overlap artwork tops the list — it causes visible gaps the moment a limb bends, and it’s an easy fix to forget while you’re focused on getting the bones placed.
Over-complicating the bone hierarchy is another one. More bones doesn’t mean a better rig; it usually just means more places for something to break. Ignoring pivot points is a quieter mistake — a bone placed even slightly off from the real joint makes the limb rotate around the wrong spot, and it looks wrong immediately even if you can’t say why.
Forgetting to mirror left and right body parts is a classic too. Your arms and legs should generally match each other structurally, or the character ends up moving asymmetrically for no real reason. And probably the most common one of all: rigging before the character design is actually locked. Reworking a finished rig after a redesign is more work than just finalizing the design first — every time.
Software Worth Knowing About
You don’t need the most expensive option on the market to get started rigging.
Adobe Character Animator is genuinely beginner-friendly and good for real-time puppet animation. Moho (formerly Anime Studio) is widely used for professional 2D rigging and has strong “smart bone” tools once you’re past the basics. Toon Boom Harmony is the industry standard — a lot of TV and studio pipelines run on it. Spine and DragonBones are built specifically for game and mobile app characters, so if that’s your end goal, start there instead.
Each one has its own learning curve, but the core principles carry over no matter which you pick: bones, hierarchy, weighting, controls.
When It’s Worth Handing This Off to a Professional
Learning to rig your own characters is genuinely useful — for personal projects, indie games, or simple social content, doing it yourself makes sense. But for client work, complex characters, or anything on a real deadline, professional rigging saves the trial-and-error most beginners have to go through the hard way.
If you’d rather hand this part off entirely, Drawphics builds dedicated character rigging services for smooth, flexible, production-ready movement. It pairs naturally with our character design and 2D illustration work, so a character can go from a rough concept sketch to fully rigged and animation-ready without changing hands between teams. You can look through finished rigs and animated work in our portfolio, or browse the wider range of animation services we run for studios, game developers, and content creators across the USA.
Final Thoughts
Rigging a 2D character isn’t some secret technical trick reserved for studio animators. It’s preparing your artwork properly, understanding how bones and hierarchies actually work, and testing thoroughly before you touch an animation timeline. Start small: a simple character, clean layers, a straightforward FK bone chain, solid weighting. Once that starts to feel natural, layer in IK controls, facial rigs, and whatever else the project calls for.
Every animator you’ve ever admired started with a rig that looked a little rough around the edges. What separates a beginner rig from a studio-quality one usually isn’t talent — it’s just repetition, and paying attention to the small stuff this guide walked through.
Got a character that needs rigging done right, or want a second opinion on one you’ve already built? Reach out to our team and we’ll help you get it moving.
Frequently Asked Questions
1. How long does it take to rig a 2D character?
A simple character usually takes 2–5 hours for a beginner. Complex characters with facial rigs and IK controls can take several days depending on detail.
2. Do I need to know how to draw to learn 2D rigging?
No, but understanding anatomy and joint placement helps you build cleaner rigs, even when someone else creates the actual artwork.
3. What’s the difference between FK and IK rigging?
FK moves bones from the top down for deliberate poses. IK moves the end point, like a hand or foot, and the rest of the chain follows.
4. Which software is best for beginners learning 2D rigging?
Adobe Character Animator and Moho are the most beginner-friendly, with guided bone tools and simpler weighting than studio pipelines.
5. Can a poorly drawn character still be rigged well?
Not really. Rigging can’t fix bad proportions or missing joint overlap artwork; clean, well-prepared illustrations rig noticeably better.
6. Are 2D rigs reusable across multiple animations?
Yes, that’s the main advantage. Once a 2D rig is built, it can be reused for dozens of scenes and poses without redrawing the character each time.