KDP Bleed Settings: How to Fix Bleed, Margin, and Trim Errors for Children’s Books
KDP bleed settings cause more manuscript rejections than almost anything else in interior formatting. This is especially true for children’s books where illustrations frequently run to the edge of the page. A file can pass Amazon’s automatic upload check and still get rejected during manual review. Authors often end up adjusting margins that already appeared to meet the spec.
Part of the confusion comes from KDP’s own instructions: enlarge your page dimensions to add bleed. If your trim size is already at its maximum, that sounds impossible. It isn’t.
The bleed addition happens to the file you export, not the trim size you select inside KDP. This article covers the exact measurements, the common rejection errors, and how to set bleed in InDesign, Photoshop, Illustrator, and Canva.
What Bleed, Trim, and Live Area Actually Mean in KDP
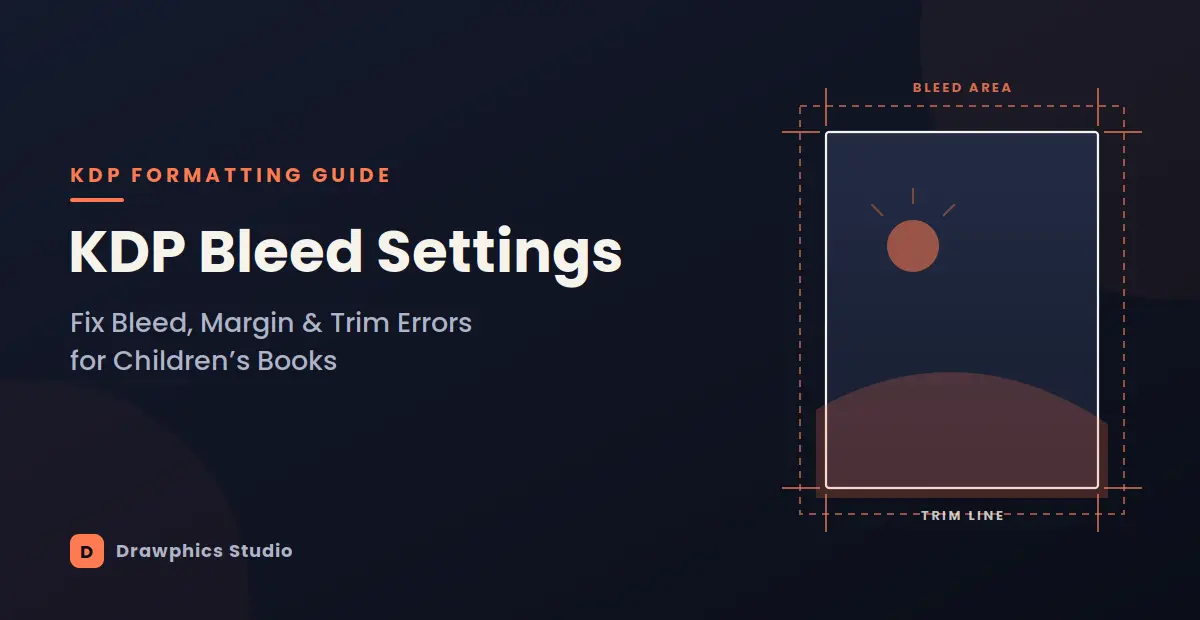
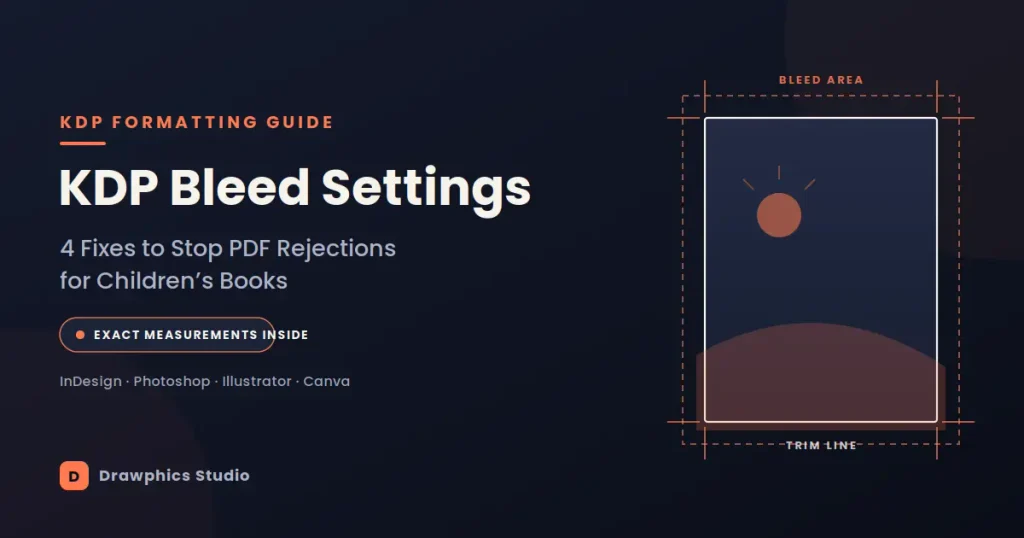
Trim size is the final, physical size of the printed page after the book is cut down during manufacturing. Bleed is the extra image or background area added beyond that trim line. This margin ensures that a slight shift in the cutting blade during a large print run doesn’t leave an unprinted sliver of white. The live area is the zone inside the trim line where text and important content need to sit.
The trim size vs bleed size distinction trips people up because bleed doesn’t change what trim size you select in KDP. A 6 x 9 book stays 6 x 9 regardless of bleed. What changes is the file you build, which needs extra measurement on the bleeding edges. KDP’s printing equipment trims that margin away, and the finished book comes out at the trim size originally chosen.
The kdp live area margin is separate from bleed. It’s the safety zone for text and artwork, sitting inside the trim line. It exists for close to the opposite reason bleed does: keeping content away from where the cutter might clip.
Key Takeaway: Your file size changes, but the trim size you select in KDP’s setup (e.g., “6 x 9 in”) never changes.
KDP Bleed Settings: The Exact Measurements KDP Requires
KDP bleed settings ask for:
- Width: 0.125 inches (3.2mm) added to the page width.
- Height: 0.25 inches (6.4mm) added to the page height.
The width addition only happens on the outer edge. The inside edge sits against the spine and never bleeds. The height addition splits evenly: 0.125 inches top and bottom. For a 6 x 9 book with bleed, the file comes out to 6.125 x 9.25 inches, not 6.25 x 9.25.
Live area margins run separately. KDP asks for at least 0.25 inches on the top, bottom, and outside edge, measured from the trim line. The inside margin, next to the spine, needs more room. The amount depends on page count: gutter width for kdp books increases as page count climbs.
kdp full bleed trim sizes cover most standard KDP formats:
- 5 x 8
- 5.5 x 8.5
- 6 x 9
- 7 x 10
- 8.5 x 11
- Square formats like 8.5 x 8.5
All support bleed or no-bleed, depending on whether the interior has images or backgrounds reaching the page edge.
Bleed Size for Children’s Books and Picture Books
The kdp bleed size for children’s book projects follows the same base math as any other interior, but the stakes are higher. Picture books lean on full-page illustrations, spreads, and backgrounds touching every edge. More of the file sits exposed to the trim line than in a text-heavy novel. Missing bleed on even one spread is usually what triggers a manual rejection.
The amazon kdp bleed dimensions 8.5 x 8.5 come up often because the square trim is a common picture book choice. It is closer to traditionally published children’s titles than taller trade sizes. With bleed added, an 8.5 x 8.5 book becomes 8.625 x 8.75 inches.
safe zone margins picture book requirements work the same as live area margins elsewhere. Illustrators tend to push closer to that line, since characters and backgrounds are drawn to look natural right up against the edge. Anything meant to stay fully visible should sit further inside the safe zone than the bare minimum.
Key Takeaway: For picture books, check every full-page illustration manually. A single missing bleed on a spread is enough to trigger a rejection during the manual review.
Double-Page Spreads: Bleed and Gutter Together
double page spread bleed size kdp calculations get more complicated. A spread crosses the spine, and the gutter eats into the art from both sides at once. An illustration continuing across two facing pages needs extra width near the center. This prevents important details from getting lost in the fold or trimmed unevenly during binding. The safer approach is building the spread as one continuous canvas at double the trim width plus bleed, then splitting it at export.
How to Calculate Your KDP Bleed Page Size
Working out bleed dimensions by hand is simple:
- Take the trim width, add 0.125 inches.
- Take the trim height, add 0.25 inches.
A kdp page size with bleed calculator does the same arithmetic automatically. It is worth using when formatting several trim sizes at once.
Key Takeaway: The math is always Trim Width + 0.125” and Trim Height + 0.25”. There is no need to overcomplicate the calculation.
Common KDP Bleed Errors and How to Fix Them
Why KDP’s Previewer Rejects a File That Passed Automatic Checks
why is kdp previewer rejecting my PDF is one of the most common questions in KDP forums. The user usually had a file that cleared the automatic upload check without error.
The automatic check looks for structural problems: wrong page count, missing fonts, file corruption. It doesn’t always catch a bleed or margin issue buried deep in a long file.
The manual or previewer-stage review looks page by page. That is where an image falling short of the bleed line, or text drifting into the margin, gets flagged. You can read more about this two-step review process on KDP’s official formatting help page. how to fix kdp bleed error at this stage means going through the file page by page rather than assuming the whole document shares one problem.
Fixing “Text Outside Live Area” Errors
kdp text outside live area error means some text box, caption, or page number sits closer to the trim line than the required margin allows. In children’s books this often happens with speech bubbles or sound-effect text placed for visual effect. The fix is moving the text box inward until it clears the boundary with room to spare.
Fixing KDP Minimum Margin Requirement Errors
kdp minimum margin requirements error usually points to the gutter margin. It is more common in books with a higher page count than expected when margins were first set up. A manuscript that gained fifty pages during editing may no longer meet the original setting.
Resizing a Background Image to Extend Past the Trim Line
kdp resize background image to extend past trim line describes the opposite problem: art that ends exactly at the trim line. Any background or full-page image needs stretching or repainting so it covers the entire bleed area. Cropping to trim size and expecting KDP to add the margin doesn’t work.
Key Takeaway: If the error is “Text Outside Live Area,” check the gutter and outer margins. If it is “Minimum Margin,” the page count likely increased, requiring a wider gutter.
Setting Up Bleed in Your Design Software
Setting up bleed looks different in each program.
KDP Bleed Settings in Adobe InDesign
kdp bleed settings adobe indesign start in the document setup dialog. InDesign has a dedicated bleed field separate from page size.
- Set bleed to 0.125 inches on all sides.
- Extend images into that guide.
- In the export panel, ensure bleed and slug settings match the document.
- Crop marks stay off for KDP uploads.
Photoshop Canvas Size for KDP Bleed
photoshop canvas size with kdp bleed doesn’t have a dedicated bleed field.
- Build the canvas at the full bleed dimensions from the start.
- Trim width plus 0.125 inches, trim height plus 0.25 inches.
- Set guides at the trim line and live area boundary to keep text inside the safe zone while backgrounds extend to the canvas edge.
KDP Bleed Settings in Illustrator
kdp bleed settings illustrator work similarly.
- Set a bleed value in document setup or the PDF export dialog.
- Objects meant to bleed need to extend past the artboard edge by at least the bleed amount. Illustrator won’t add bleed to art that stops at the boundary.
How to Add Bleed on Canva for KDP
how to add bleed on canva for kdp is worth addressing honestly: Canva has no native bleed setting.
- The workaround is setting a custom page size to the full bleed dimensions.
- Mark the trim line with a guide layer.
- Extend backgrounds to the outer edge.
It puts more manual measurement responsibility on the designer than InDesign or Illustrator do.
PDF Export Settings for Print-Ready KDP Files
pdf export print ready specs for KDP call for specific settings:
- File Format: PDF/X-1a or high-quality print PDF.
- Fonts: Embedded rather than referenced.
- Images: 300 dpi or higher.
- Crop Marks: Turn them off.
- Color: CMYK rather than RGB. KDP converts RGB files during processing and the result can shift slightly from what appeared on screen.
Key Takeaway: The most common export mistake is leaving crop marks on. KDP will reject the file immediately if it detects them.
FAQ
- What does bleed mean in book publishing?
Bleed is extra image or background area extending past the trim line, added so the printed page has no white edge if the cutting blade shifts during manufacturing.
2) What is the difference between KDP bleed and no bleed?
A no-bleed file matches the trim size exactly, with content kept at least a quarter inch from the edge. A bleed file is built larger so images can run to the edge without a gap after trimming.
3) Should I choose bleed or no bleed?
Choose bleed when any image or background is meant to touch the page edge. Choose no bleed if every page keeps a visible margin, removing one source of formatting error.
4) What size trim should I use for a KDP book with bleed?
Trim size depends on genre and page count rather than bleed itself. Bleed adds the same width and height to whichever trim size gets chosen, whether that’s 6 x 9, 8.5 x 11, or square 8.5 x 8.5.
5) What is KDP’s live area margin, and why does my image keep getting flagged inside it?
Live area margin is the minimum distance text and content need from the trim line, at least 0.25 inches on the outer edges and more on the spine side. An image gets flagged when a face or key detail sits closer to the edge than that minimum.
6) Why did my file pass KDP’s automatic check but still get rejected?
The automatic check looks for structural problems like missing fonts or a wrong page count. Bleed and margin issues on individual pages are usually caught later, during the manual or previewer stage, which reviews content page by page.
Before You Upload Again
Most KDP bleed rejections come down to a handful of repeat causes:
- An image stopping short of the bleed line.
- Text drifting into the live area.
- A gutter margin that no longer matches a manuscript’s final page count.
Checking these three areas page by page before re-uploading catches most manual review rejections before they repeat. For children’s books, spreads and full-bleed illustrations deserve a second look beyond the standard checklist, since that’s where most kdp bleed settings issues hide.